How to Cut A Square Hole In Drywall

This step by step diy article is about how to cut a square hole drywall. If you are installing a new outlet or you want to patch a large hole in drywall, chances are that you need to make a few square or rectangular holes. Even if you are a total novice when it comes to home improvement projects, cutting holes in drywall is a lot easier than you might imagine.


Make sure there are no wires or pipes behind the sheetrock, if you are going to cut out a hole on an existing wall. In addition, place a few pads on the floor to protect it from the debris that will come out when cutting the drywall. Taking the accurate measurements and marking them on the wall are essential for your project, so take your time on these preliminary procedures.


Materials

 Drywall sheet

Tools

 Safety gloves, Eye protection, Respiratory mask

 Electrical screwdriver, Drywall saw

 Utility knife, T-square

Tips

 If you want to get the job done quickly, use a sharp knife

 Wear a respiratory mask when cutting the drywall sheets

Time

 5 minutes


Step 1: Marking the hole

Marking-the-cut-lines


The first step is to locate where the hole should be and mark the cut lines. If you are cutting the hole prior to hanging the sheet to the wall, use a T square to mark the lines.


Measuring-drywall


If you have to cut the hole into an existing wall, you should use a level and a square.


Step 2: Drilling the starting holes

Drilling-the-starting-holes


Use a drill machinery to make starting holes to the square or rectangle. Make sure you drill the holes inside the rectangle.


Step 3: Cutting the hole
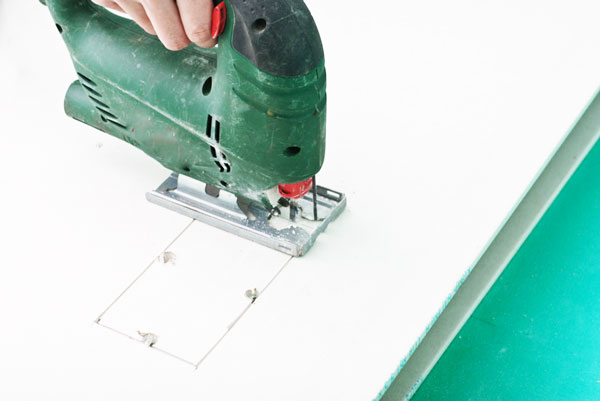
Cutting-the-holes


Use a jigsaw or a drywall saw to make the cuts along the marked lines. Make sure you wear a respiratory mask, to protect your lungs from inhaling dust.


Step 4: Cutting a square hole

How-to-cut-a-square-hole-in-drywall


If you followed this simple tutorial, the square hole should be cut in a professional manner. As you can see, working with drywall is easy if you plan it carefully and use the right techniques and tools.


Thank you for reading our project about how to cut a square hole in drywall. Check out the rest of the projects if you want to learn drywall repair tricks and techniques. LIKE us on FACEBOOK for more updates.
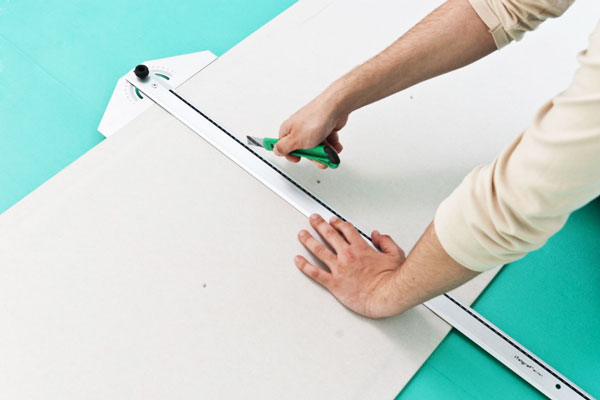
How to Cut Drywall

This step by step diy article is about how to cut drywall. If you are installing drywall or you are making a repair, chances are that you have to make a few cut here and there, so that the panels fit into place. If you want to make accurate cuts to the sheets and not waste any material, you need to learn the basic techniques and to use the right tools for the job.

After many, many drywall projects completed, I think I have enough experience to share a few tips. First of all, you need to take proper measurements. You can make amazing cuts, but if the measurements are off, the sheet won’t fit into place. Secondly, you need to wear the right safety gear, so that you protect your lungs and eyes from dust and debris.


Materials

 Drywall sheet

Tools

 Safety gloves, Eye protection, Respiratory mask

 Electrical screwdriver, Drywall saw

 Utility knife

Tips

 If you want to get the job done quickly, use a sharp knife

 Wear a respiratory mask when cutting the drywall sheets

Time

 5 minutes


Step 1: Gather the tools

Cutting-drywall-tools


First of all, you need to have the right tools for the job, before making the cuts. Therefore, make sure you have a ruler, a pencil, a sharp utility knife and a T-square. These tools are enough for making proper cuts to drywall sheets.


Step 2: Measure

Measuring-drywall


Next, you need to measure the drywall sheet with the ruler. Mark where you want to make the cut and mark it with a pencil.


Step 3: Cut

Marking-the-cut-line-on-drywall


Hold the T square tightly against the edge of the drywall sheet, so you make sure the corner is right angled. Next, hold it into place while you score the sheet from top to bottom using the utility knife. Repeat the cut a few times to make sure you go deep enough.


Step 4: Snap

Snapping-drywall


Fold the drywall sheet towards you at the spot where you made the cuts. Apply steady pressure along the cut and the sheet should snap properly.


Step 5: Clean

Cutting-drywall-sheet


Use the utility knife to cut the paper layer along the fold. Now you know how to cut drywall sheets as a professional in just a few minutes. As in any domain you need a little practice so that you master the technique.


Thank you for reading our project about how to cut drywall. Check out the rest of the projects if you want to learn drywall repair tricks and techniques. LIKE us on FACEBOOK for more updates.

Framing with metal studs

If you want to hang drywall to the ceiling or make a partition in your room, then you should really consider using metal studs. Framing with metal studs has its pros and cons, so make sure you study the options before starting the project. The main advantage when using metal studs is the consistency you get in the shape, straightness and structural integrity. This is a brief tutorial on how to frame a metal stud ceiling.

The metal studs are super rigid and they are will resist for so many years in the row. In addition, the metal studs are light so you don’t add too much weight to the structure. You should remember that you have to install the tracks first and then fit the metal studs. In addition, pay attention to the instructions you get when buying the metal studs, as there are several types out there.


Materials

 Drywall sheet, Metal studs, Brackets

 Joint compound

Tools

 Safety gloves, Eye protection, Respiratory mask

 Electrical screwdriver, Drywall saw

 Utility knife, T-square, Knifes

Tips

 Place the studs every 16″ on center

 Take accurate measurements before cutting the metal studs

Time

 2 days


Framing with metal studs

How-to-frame-with-metal-studs


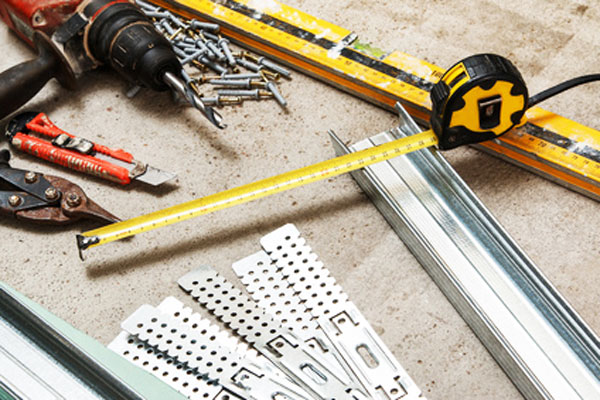
When framing with metal studs, you need to gather first the tools for the project. You need tin snips to cut the metal studs, a ruler, a drill machinery, a spirit level and a cutter. In addition, you have to buy the materials: metal tracks, studs, brackets and screws.


Framing-with-metal-studs-8778


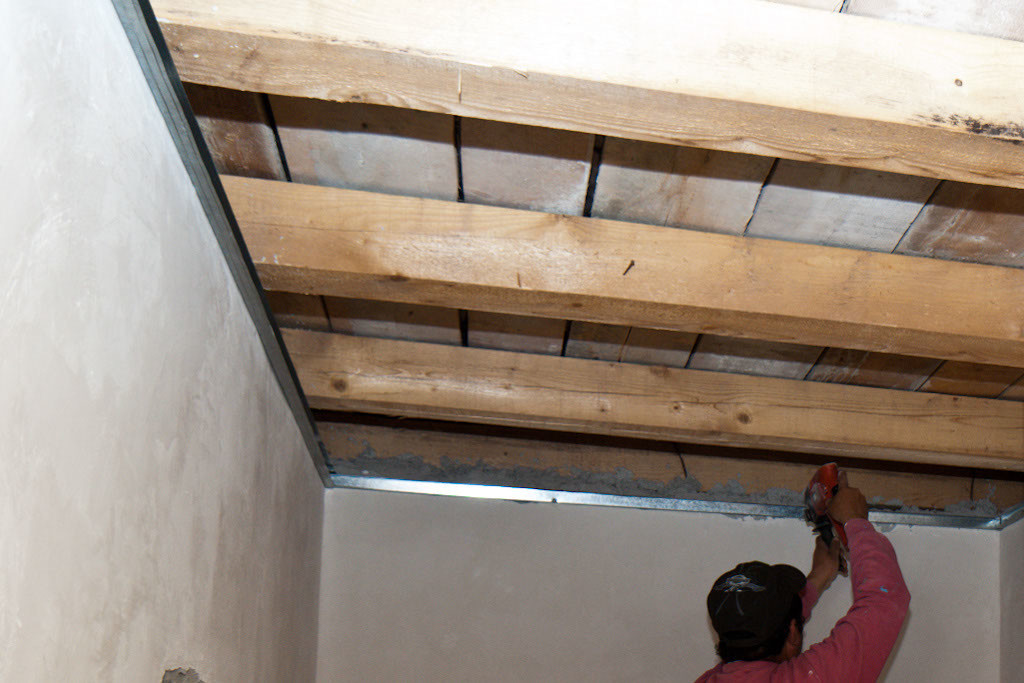
Install the tracks to the walls, as shown in the image. Use a 4-6′ spirit level or a laser level to make sure the tracks are horizontal. You can adjust the height of the ceiling to suit your needs. Drill holes through the tracks and lock the to the walls with screws. Take measurements for the tracks before making the cuts. The tracks are basically channels needed to hold the studs.


Cutting-the-metal-studs


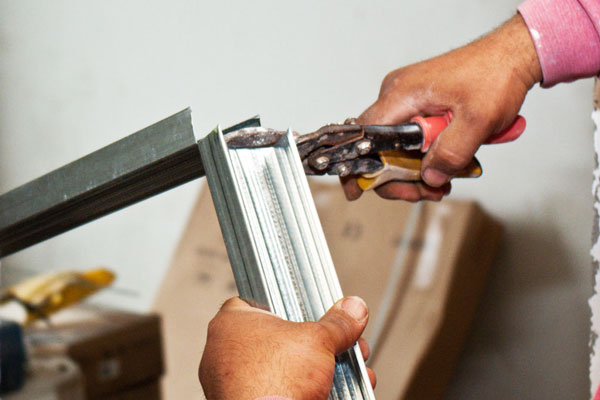
You should use tin snips to adjust the size of the tracks and of the metal studs. Make sure you measure accurately and pay attention to the sharp edges, to prevent injuries.


Fitting-the-metal-studs


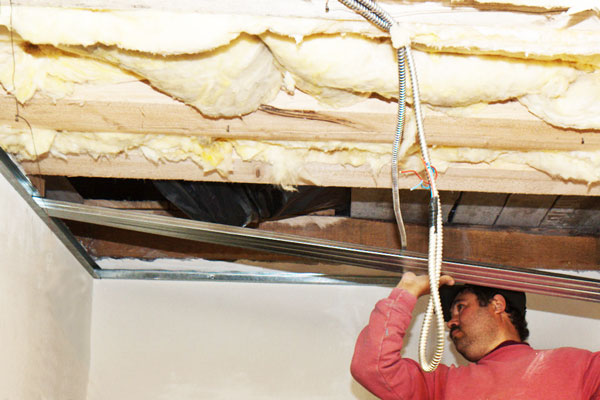
Next, you should fit the metal studs to the tracks and space them appropriately (usually 16″ on center). Use screws to lock the studs to the metal track. As you can notice in the image, there is a gap between the track and the framing beams, as we will install another perpendicular layer of studs there. In this manner, the metal stud ceiling will be super rigid.


Fitting-the-brackets


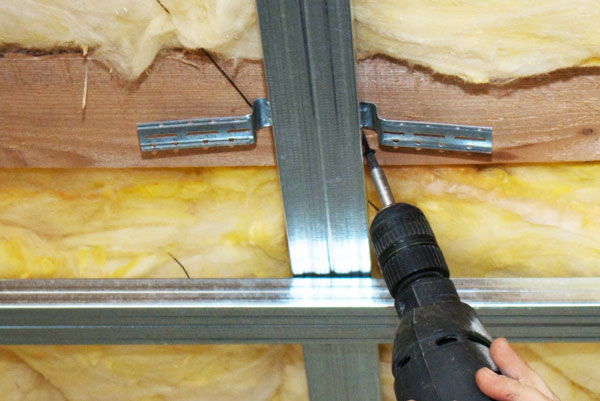
In order to enhance the rigidity of the metal stud framing, you need to attach brackets. Use screws to lock the brackets to the ceiling joists, as shown in the image.


Framing-with-metal-studs-8833


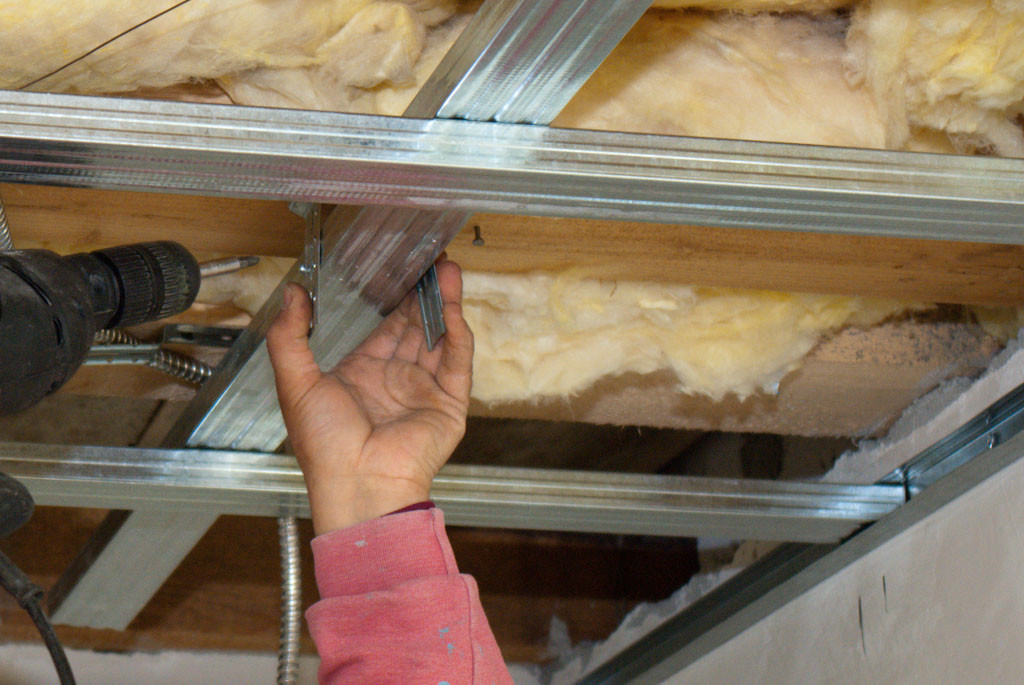
Lock the metal studs to the beams using brackets. It is essential to metal secure the studs to the beams, using this technique. Insert screws through the brackets into the metal studs.


Framing-with-metal-studs-5872


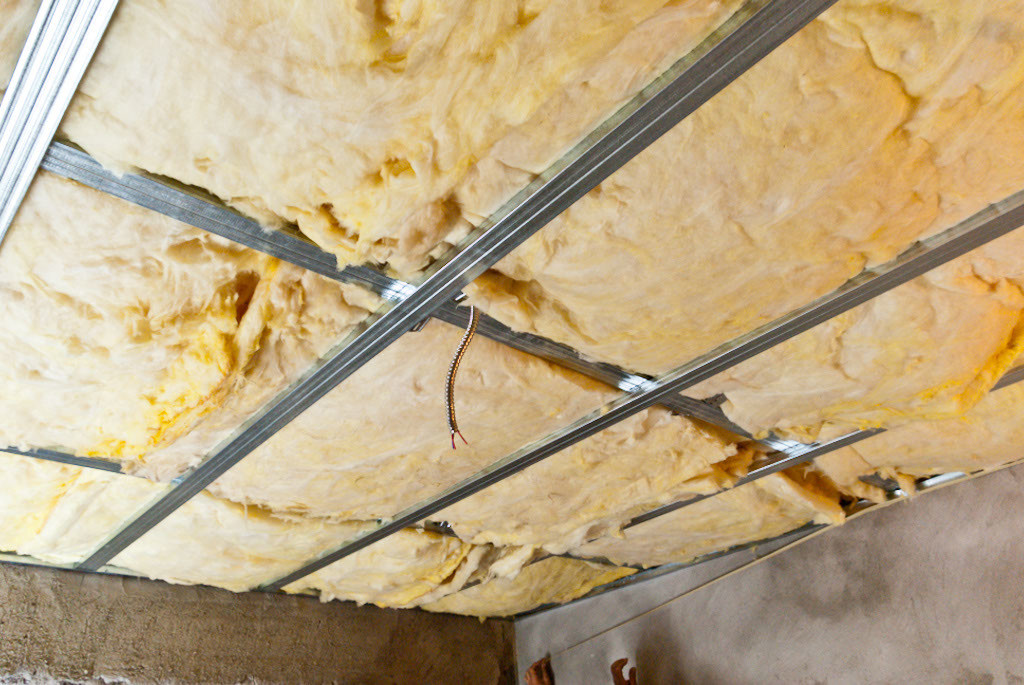
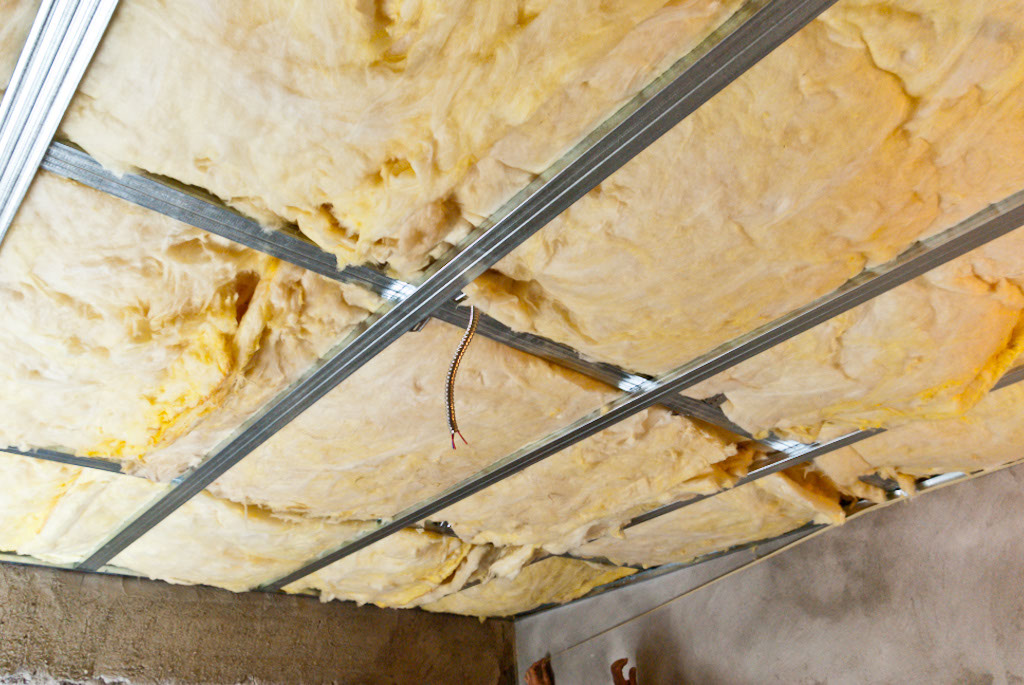
After installing the metal stud ceiling, you should fit the insulation. In this manner, you will keep the heat inside the room during the cold winters and make air conditioning more efficient in the summer. More on how to frame with metal studs HERE.


Thank you for reading our project about how to frame a metal stud ceiling. Check out the rest of the projects if you want to learn drywall repair tricks and techniques. LIKE us on FACEBOOK for more updates.

How to bend drywall

If you are a homeowner you probably want to make a few additions or remodeling projects, in order to enhance the look of the living space. If you want to add appeal to the home, creating curved shapes is probably high on the lost. If you imagine that bending drywall is a difficult task, you couldn’t be further from the truth.

Take your time and make sure you read this complete tutorial about bending drywall. The tutorial shows you several techniques to get the job done, so make sure you select the ones that really suit your needs. You can make either cuts or use water to curve the drywall pieces. In addition, don’t forget to check the rest of our projects for step by step tutorials and useful tips.


Materials

 Drywall sheet

Tools

 Safety gloves, Eye protection, Respiratory mask

 Electrical screwdriver, Drywall saw

 Utility knife, T-square

Tips

 Choose the method according to the radius of the curve

Time

 1 day


How to bend drywall

Scoring-drywall


The first method would be to bend drywall by making multiple cuts on one side of the drywall piece. Make sure the cuts are made parallel, otherwise the piece won’t bend properly. In addition, you should adjust the distance between the cuts according to the radius of the curve.


How to bend drywall


Attach the piece of drywall to the curve and lock it into place with screws. If you made the scores properly, then the piece of drywall should fit into place properly. This is the ideal method is you have to bend drywall to a tight radius.


How-to-bend-drywall--1024x684


The other method would be to apply water on the drywall sheets with a roller. Apply the water evenly until you can bend the piece of drywall to shape. This method works best for wide curves.


How to bend drywall 0437


Next, you can secure the sheet into place with screws. With these two methods in your bag of knowledge, you can undertake more complex projects and curves won’t scare you anymore.


Thank you for reading our project about how to bend drywall. Check out the rest of the projects if you want to learn drywall repair tricks and techniques. LIKE us on FACEBOOK for more updates.

DIY Drywall

This step by step diy article is about diy drywall projects. If you are a homeowner, you probably faced several situations when you had to cope with different drywall issues or you may want to improve the style of your home. While some of them, such as dents or scratches, are easy to fix, other are more complex and require more skills, attention and knowledge. Make sure you take a look over these 4 free tutorial to learn new drywall skills and to save money.

We have browsed the internet searching for the best drywall tutorial. In this article we highlight the main projects one homeowner needs to master for making the common repairs and for enhancing the look of the homes. All the projects come from reputable sources and feature detailed instructions and step by step diagrams.


DIY drywall


1. Fixing a hole in drywall

6'' wide putty knife


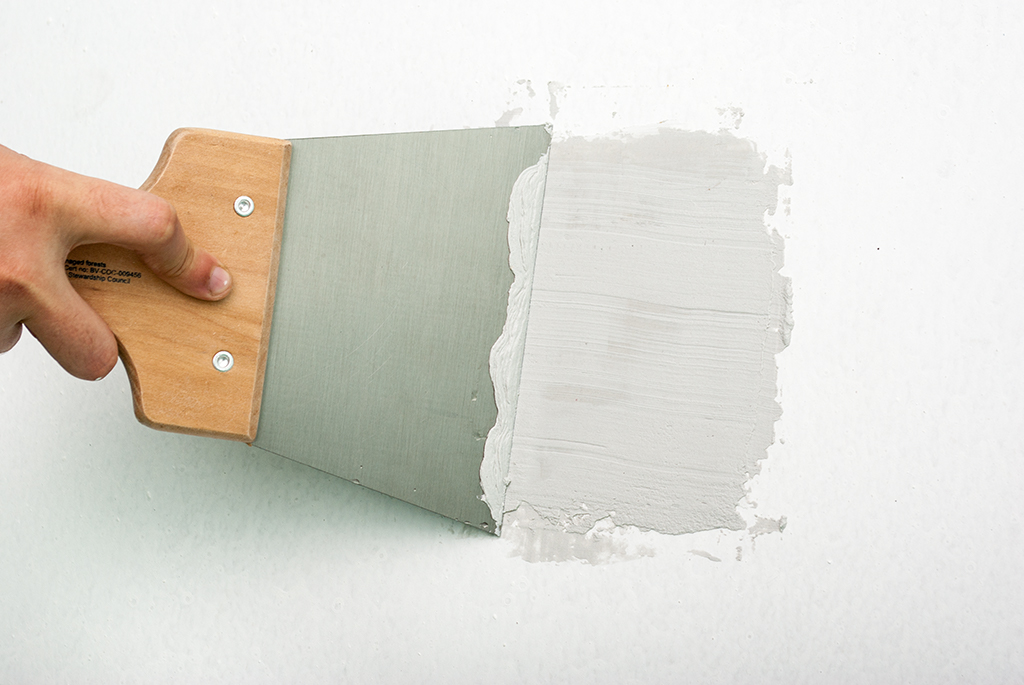
One of the most common issues a homeowner faces is repairing holes in the drywall. Usually, hiring a professional to get the job done costs time and money, so having the knowledge to get the job done by yourself will have a nice impact on your budget. There are few methods you can use, according to the size of the hole in the wall. Make sure you follow the step by step descriptions shown in the tutorial to get a professional result. MORE HERE >>


2. Drywall arch

Drywall Arch


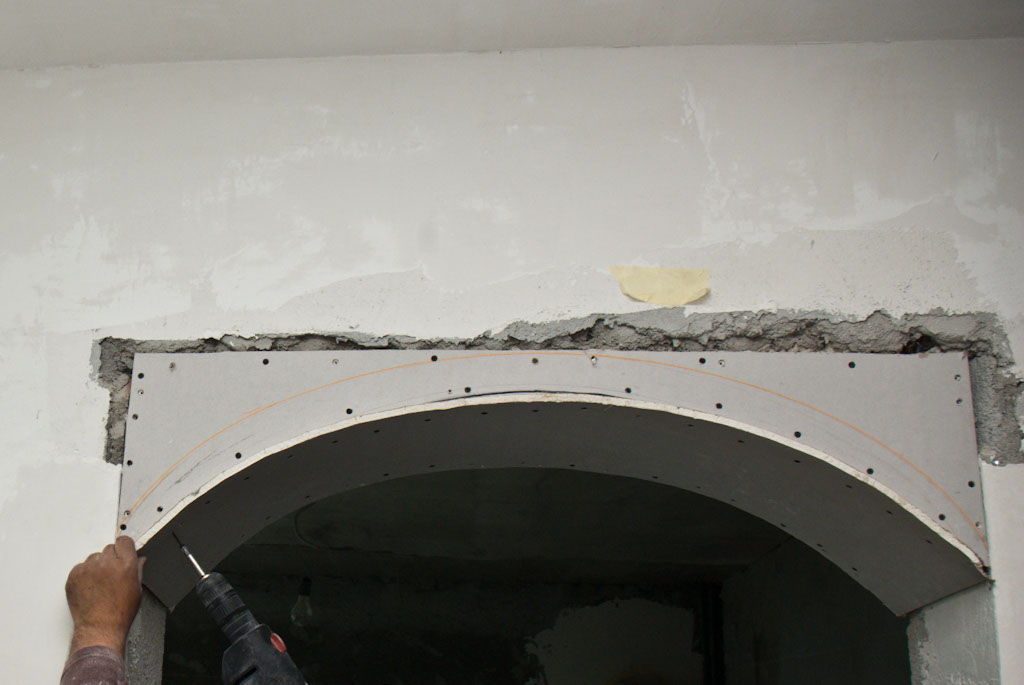
If you want to enhance the look of you home, you can make a few minor modifications that will have a great impact. A drywall arch can be built in a weekend using metal studs and a drywall sheet. You can adjust the radius of the arch so that it matches the style of your home. This tutorial features detailed instructions, diagrams and many tips so that any person can get the job done. MORE HERE >>


3. Cutting drywall

Cutting Drywall


Any drywall project requires a few basic skills, such as cutting the sheets. If you have a hard time making perfectly straight cuts to the sheets, we recommend you to take a look over this extensive tutorial. All you need is a large straight edge and a cutter. However, there are many secrets one has to know for a clean cut. Make sure you check out the complete tutorial. MORE HERE >>


4. Lower drywall ceiling

Lower Ceiling


Last but not least, you can build a lower drywall ceiling. If you aim for an unique design, you can create different curved shapes on the ceiling using metal studs and drywall. Work really careful and plan everything with attention. The tutorial contains all the information you need to get the job done starting with creating the metal stud frame up to the finishing techniques. MORE HERE >>


Thank you for reading our project about diy drywall projects. Check out the rest of the project if you want to learn drywall repair tricks and techniques. LIKE us on FACEBOOK for more updates.
How to cut a round hole in drywall

This step by step diy article is about how to cut a round hole in drywall. There are many cases in which a house remodeling implies circular cuts in the walls (installing recessed light, pipes), so in this article we will show you how to get accurate results, without breaking the exposed edge of the drywall, by using just common tools. Nevertheless, you should keep in mind, that you could also get good results with a circle cutter or a hole drill bit.

Using a power saw will create a lot of dust, as compared to using a regular keyhole saw. Nevertheless, a round hole cut with a drywall saw won’t be as accurate as compared to one cut with a circular hole cutter, but you can get decent results if you use the right techniques. Moreover, always check if the radius of the hole is right, before cutting the drywall, because if you make it too large, there is no coming back.


Materials

 Round outlet box

Tools

 Safety gloves, Eye protection, Respiratory mask

 Electrical screwdriver, Drywall saw

 Utility knife

Tips

 If you want to get the job done quickly, use a circular hole cutter

 Wear a respiratory mask when cutting the holes in drywall

Time

 One day


Step 1: Mark the hole location

Measuring-drywall


Use a tape measure to determine the location of the hole. Mark the place with a pencil.


Marking the line on the wall


In order to trace the cutting lines you can use several techniques. On one hand, you can use a round outlet box, or anything with a circular shape, after ensuring it has the appropriate radius. On the other hand, you can mark the outline with a compass or a pencil attached to a nail.

Useful Tip: Check if the radius of the hole is right, before tracing it to the wall. Always verify if there are pipes or electrical cables behind the wall, before making the cuts.


Step 2: Punch the wall with a drywall saw

Making the starting hole


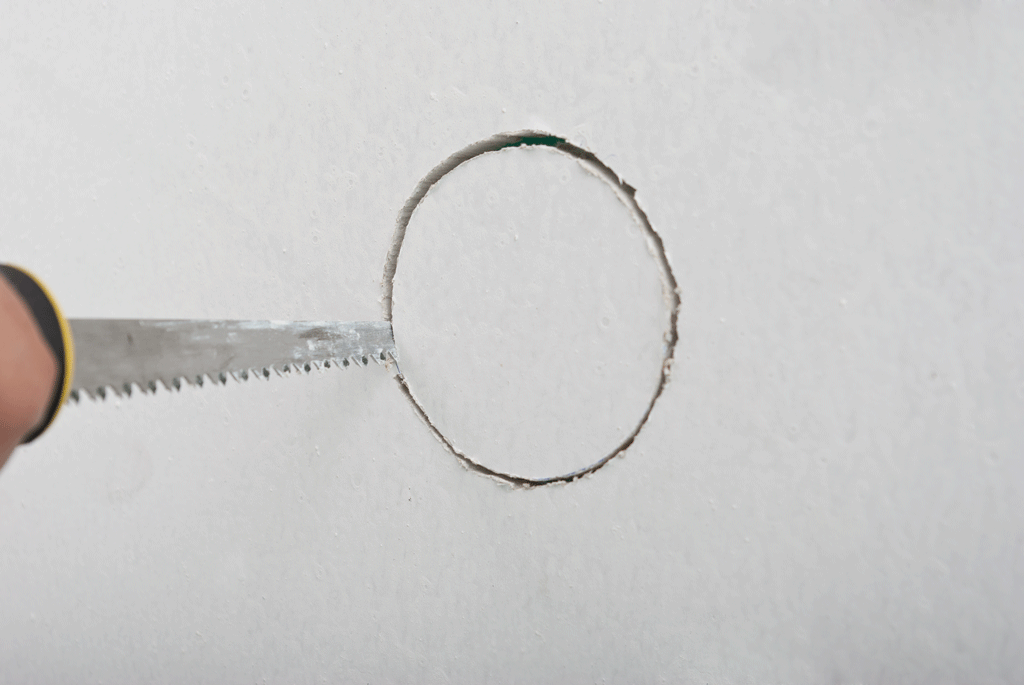
A drywall saw has a really firm blade, so you can make all kind of cuts with it. In order to cut a round hole, you just have to plunge it into the drywall.

Useful Tip: Push firmly to get trough the drywall paper and gypsum layers.


Cutting a round hole in drywall


After that, you just have to cut along the outline of the round hole, making sure you don’t damage the edges. Do not apply too much force, otherwise you might cut the hole larger than initially planned or tear the exposed edges.


Step 3: Cut out the hole

How to cut a round hole in drywall


Although in most of the cases miscuts are not a serious issue, because the trim will conceal them, you still have to pay attention during the process.

Useful Tip: Applying too much force could damage the exterior paper layer, so make sure you work with good judgement and great attention.


Cutting a circular hole in drywall


When cutting the round hole becomes uncomfortable, make a new starting hole and continue the process.


Cutting a round hole in the wall


After completing the circle, make sure you pull the piece of drywall towards outside, otherwise it might fall inside the wall.


Circular hole in wall


The round hole made in drywall is almost perfect. Now, it’s time to check if the outlet box fits easily into place.


Installing the electrical box


The electrical box fits into the hole. Nevertheless, if you want to get the job done quicker or without having to worry about making the hole too large, use a hole saw bit.


Step 4: Use hole saw drill bit

Cutting circular holes in drywal


Cutting small round holes in drywall can also be done using an adjustable hole saw. In most of the cases, you can adjust the radius of the hole from as little as 1” up to as much as a 7”. In order to get a professional result, you just have to center the hole saw properly over the cut lines and make the hole gradually.

Useful Tip: Don’t forget to use a respiratory mask when making the cuts, as the hole saw will generate a lot of dust.


Thank you for reading our project about how to cut a round hole in drywall. Check out the rest of the projects if you want to learn drywall repair tricks and techniques. LIKE us on FACEBOOK for more updates.