
This step by step diy article is about how to fix a large hole in drywall. If you are a homeowner, you probably faced several situations when you had to cope with different drywall issues. While some of them, such as dents or scratches, are easy to fix, other are more complex and require more skills, attention and knowledge. Repairing large holes in drywall falls into this category, as you need to prepare the damaged area before fitting the patch and spreading the coats of mud.
In order to make the repair, you need to cut a large patch of a sheets of drywall, having the same thickness as the wall. Usually the walls are made out of 1/2” drywall, while the ceilings out of 5/8” drywall. In addition, a regular sheet measures 4×8′, but for a small repair it is way too large. Therefore, you should rather buy a 2×2′ or 4×4′ sheet, which can also be found at most of the diy stores.
Materials
![]() Small drywall sheet
Small drywall sheet
![]() Drywall compound and 1 1/4” screws
Drywall compound and 1 1/4” screws
![]() 1×2 lumber, Fiberglass mesh
1×2 lumber, Fiberglass mesh
![]() Fine-grit sandpaper
Fine-grit sandpaper
Tools
![]() Safety gloves, Eye protection, Respiratory mask
Safety gloves, Eye protection, Respiratory mask
![]() Electrical screwdriver, Drywall saw
Electrical screwdriver, Drywall saw
Tips
![]() If the hole is larger than 4”, you need to install several backing supports
If the hole is larger than 4”, you need to install several backing supports
![]() Smooth the edges of the damages are, before filling it with compound
Smooth the edges of the damages are, before filling it with compound
Time
![]() One day
One day
Repairing a large hole in the wall

Fixing a large hole or punch in drywall might seem a complex project, but we can assure you the repair can be done by any homeowner, as you just need to prepare the surface thoroughly and to fit a patch, having the same thickness as the wall.
Useful tip: Cut out the damaged area with a drywall saw, making it square or rectangle. In this manner, you can cut the patch easily and fit it into place easily. Use an L-square to mark the cut lines on the wall and on the drywall sheet.
How to fix a large hole or punch in drywall

First of all, you need to assess the damaged area. Therefore, if the hole in the wall is larger than 4”, then you need to make it square or rectangle and install a backing support. Nevertheless, before doing all these steps, you really need to check if behind the hole are pipes or electric cables, otherwise you might make the damage even worse.
After making sure there are no obstacles behind the hole, check if the back paper layer is in a good condition and mark the outline of the hole on the front paper layer.

In order to obtain a professional result, you have to use a pencil and an L-square. In this manner, you ensure the corners of the hole are right angled. The next step of the project is to cut out the damaged area, along the cut lines. Use a drywall saw or a keyhole saw, to get the job done accurately, especially that you can find this tool at any diy store under 5 dollars.
Useful Tip: Do not hurry or use too much force, otherwise you might damage the edges of the hole.

Afterwards, measure the height and the width of the hole, using a measuring tape.

We need to know the height of the hole as to cut the backing support. As a general rule, you should cut the support from 1×2 or 1×3 lumber and make it about 2” larger than the height of the hole. After performing the hole with a jigsaw, we need to fit a drywall screw in the middle of the wooden support.
Useful Tip: You need to insert the screw into the support as to fit it easily into place, as well as to hold it while driving in the screws trough the wall in the backing support.

Fit the backing support inside the hole and center it properly. Meanwhile get a drill machinery with torque control, in order to lock the support into place with screws.

Hold the backing support into place while driving screws trough the wall, at both ends of the wooden strip. Make sure you don’t over-tighten the screws, otherwise you might damage the surface of the wall. Nevertheless, the head of the screws should be just under the wall’s surface.
After securing the backer board to the wall, you should remove the screw placed at the middle. If you have followed our instructions and you have worked with good judgement, you are ready to cut out the patch.

In order to get the job done properly, we recommend you to use a drywall scrap piece of the same thickness as the wall. This aspect is essential, otherwise the patch won’t be at the same level with the rest of the wall.
Mark the outline of the patch on the drywall sheet and cut it gently with the drywall saw. Make sure you don’t damage the edges or the paper layers, while making the cut.

Fit the paper layer into place and check if the gaps between it and the wall are no larger than 1/4”, otherwise you have to cut a new piece, this time properly. Moreover, you don’t have to force the patch to fit into place, as you might damage it easily.
Continue the project by securing the patch to the backing support with several screws. As we have already emphasized, the head of the screws should be slightly under the surface of the wall.

Cut several pieces of fiberglass mesh and cover the patch, as in the image. Alternatively, you could also use drywall paper, but over the time we have got better result with the fiberglass mesh. Make sure the strips overlap a little, otherwise the compound might crack on the long run.
Useful Tip: The fiberglass mesh has adhesive on side, so you can stick it to the wall easily. Cover all the edges with tape, before preparing the drywall compound.

Pour a small quantity of water in a clean bucket, before adding the drywall compound powder. Let it soak some water, before mixing it thoroughly, as to activate the molecules in the compound. Dump the powder gradually, otherwise the compound will be lumpy.
Useful Tip: Use a small putty knife to mix the mud, until you get the consistency of tooth paste. If the drywall compound doesn’t slip off the knife and it isn’t lumpy, it is ready to use.

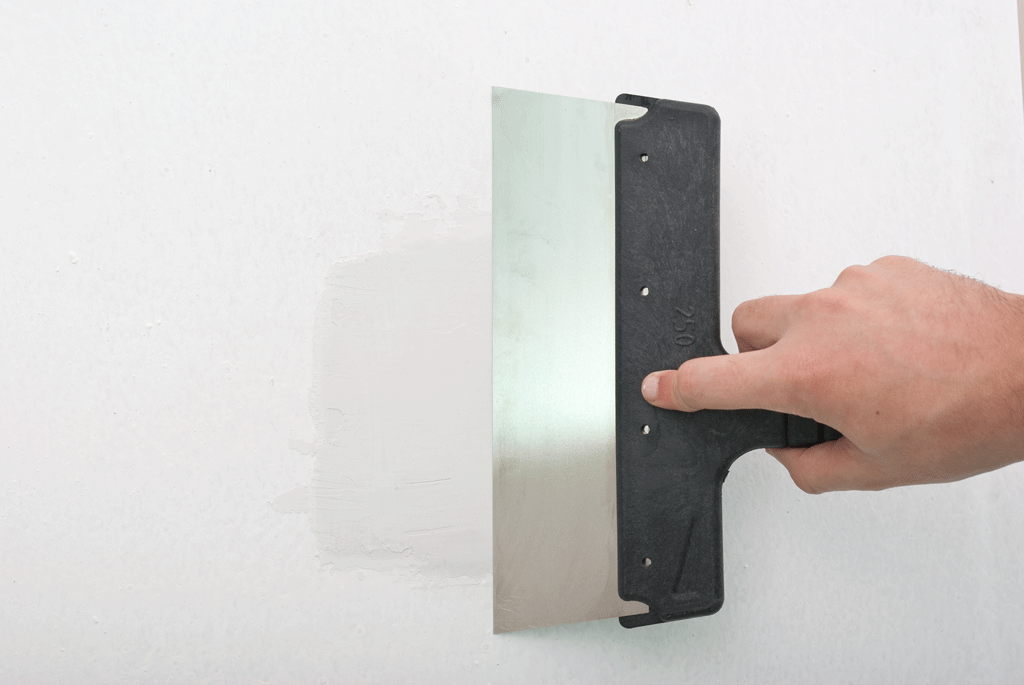
The next step of the project is to spread the first coat of drywall mud over the patch. Use a small putty knife to make the layer as smooth and even as possible. Pay attention to the transition between the patch and the wall, otherwise the repair will be noticeable.

It is almost impossible to get the job done with just one layer, therefore you shouldn’t be worried if the surface has some irregularities. Use a 6″ drywall knife to spread the mud evenly. Let the mud to set up a little, before spreading the second coat.
After the first coat has dried a little, you should apply the second layer of mud. In order to get the job done in a professional manner, we recommend you to use a 8-10” wide putty knife. Apply the drywall compound as even as possible, making sure there are very few irregularities on the surface.
Useful Tip: If you cannot make the transition between the patch and the wall even, then you have to apply another thin coat. Apply the compound in a “+” pattern.

After spreading the mud over the patch, you should let it dry out overnight. You should remember that compound that has set up, isn’t completely dried out. Therefore, you need for at least 8 hours before sanding the surface.

Last but not least, you have to smooth the patch with fine grit sandpaper (anything between 100 and 120). Therefore, after the mud has dried out properly, you need to sand the patch thoroughly, using circular moves. Make sure the transition between the patch and the rest of the wall is gradual, otherwise you need to spread a new coat of mud.
Useful Tip: Clean the dust with a dry cloth and apply the primer. Afterwards, paint the large patch with the matching color.
Thank you for reading our project about how to fix a large hole in drywall. Check out the rest of the project if you want to learn drywall repair tricks and techniques. LIKE us on FACEBOOK for more updates.