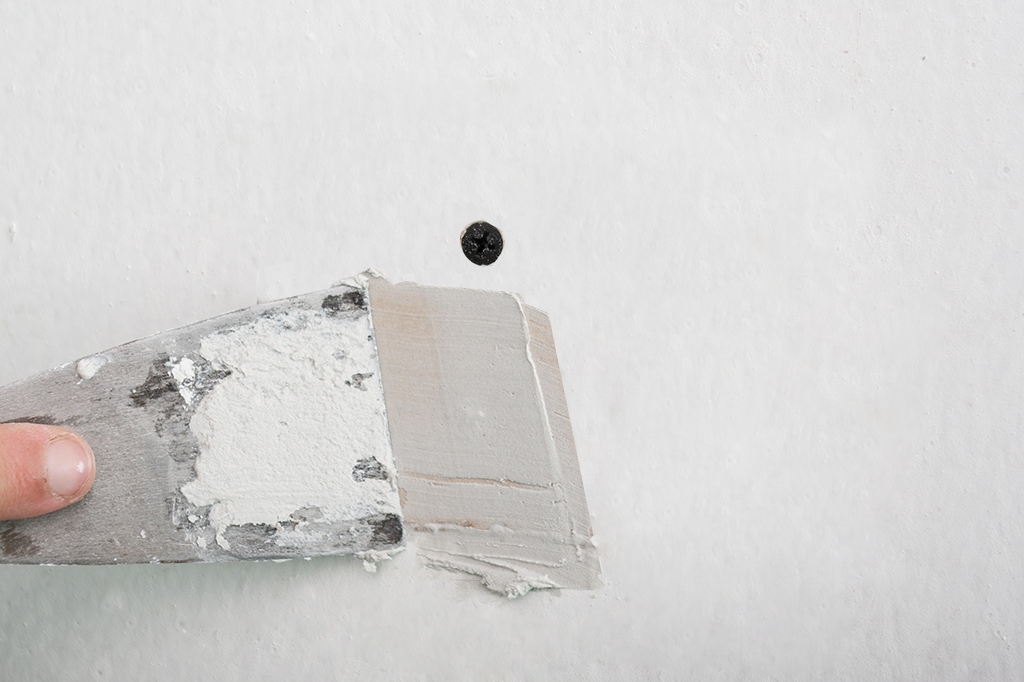
This step by step diy article is about how to fix holes in drywall. Drywall repairs are maybe one of the most common issues we all face as homeowners, either we speak of nails popping out the wall surface, small dents or even serious damaged areas.
With a little attention, a good joint compound and a few coats of paint even an amateur can get the job done, as even you won’t be able to tell where the patch is.
In this article we will show you how to fix a medium-sized hole in drywall, but you can successfully use the techniques to repair pretty much any damaged area. If you are a novice, we recommend you to read carefully the instructions and to pay attention to all the tips. Don’t forget to prepare the surface properly before installing the patch, otherwise there might appear cracks around the hole, on the long term.
Materials
![]() Drywall patch
Drywall patch
![]() Drywall compound and screws
Drywall compound and screws
![]() 1×2 lumber, Fiberglass mesh
1×2 lumber, Fiberglass mesh
![]() Fine-grit sandpaper
Fine-grit sandpaper
Tools
![]() Safety gloves, Eye protection, Respiratory mask
Safety gloves, Eye protection, Respiratory mask
![]() Electrical screwdriver, Drywall saw
Electrical screwdriver, Drywall saw
![]() Utility knife, Putty knife
Utility knife, Putty knife
![]() Small bucket, Sand block
Small bucket, Sand block
Tips
![]() If the hole is larger than 4”, you need to install several backing supports
If the hole is larger than 4”, you need to install several backing supports
![]() Smooth the edges of the damages are, before filling it with compound
Smooth the edges of the damages are, before filling it with compound
Time
![]() One day
One day
Fixing holes in drywall
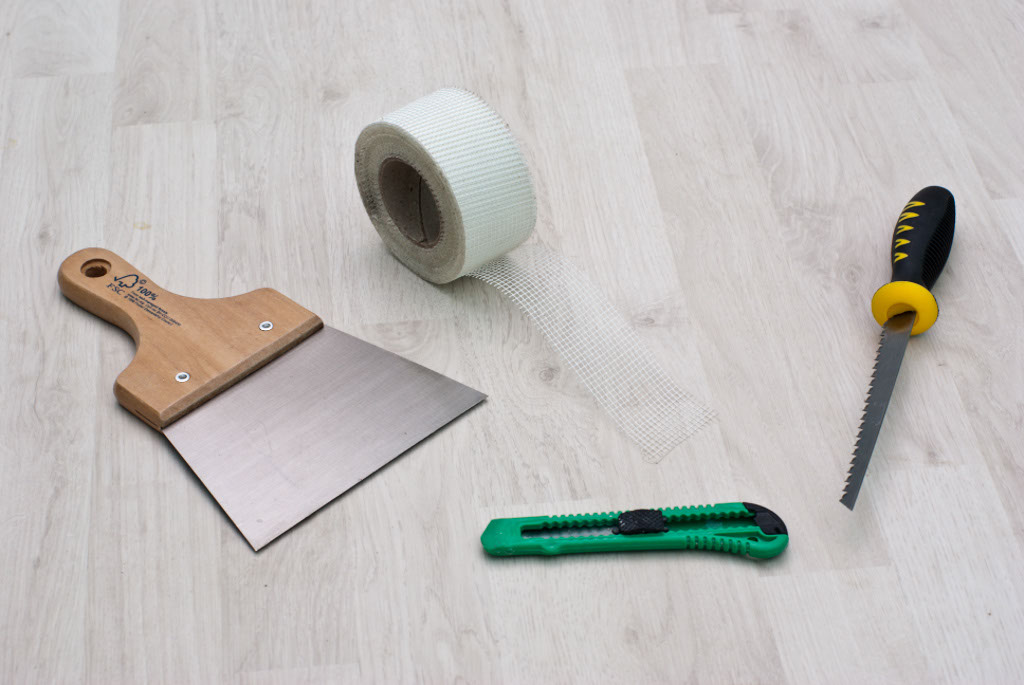
In order to repair holes in drywall, you need just a few basic tools and materials. Therefore, in most of the case (holes which aren’t wider than 4”), you need a strip of 1×2 lumber (backing support), fiberglass mesh, a drywall saw, a large putty knife and a sander.
Useful Tip: Clean thoroughly the damaged area before fitting the patch. In addition, mark the area and cut it out, as to obtain a square hole. When cutting the patch, make sure the drywall has the same thickness as the wall, otherwise the surface won’t be even.
How to fix holes in drywall
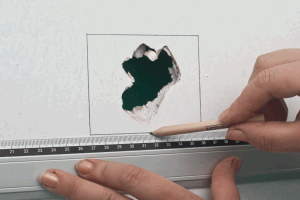
The first step of the project is to mark the cut lines around the damaged area. If you make the hole square, it will be a lot easier to patch it in a professional manner. In order to draw the square around the hole, we recommend you to use an L-square and a pencil. Work with good judgement and with great care, as to make sure the corners are right-angled.
Useful Tip: Check if there are studs, pipes or electric cables before making the cuts.
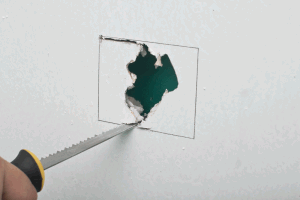
Afterwards, cut out the square hole in the wall, using a drywall saw (you can buy it from any diy store at no more than 5 dollars). Cut out the damaged are along the lines, making sure you don’t tear the edges. Just remember that the more accurate the cut, the more invisible will be the repair.
Useful Tip: Cover the flooring with old rags, otherwise it might get damaged because of the gypsum residues.
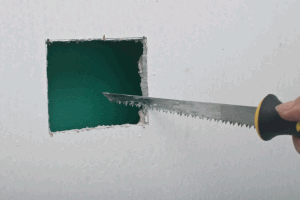
Before installing the patch, you should remove any loose paper or plaster around the edges of the hole.
It is essential to pay attention to this step, otherwise the repair might not be as accurate as planned.
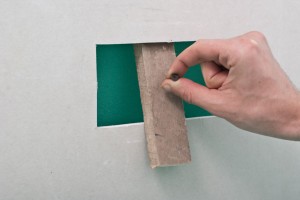
Next, you need to cut a small strip of wood (1×2 lumber will do just fine) about 3” larger than the hole. Make sure the strip is in good condition, otherwise it won’t support the patch properly. Drive in a drywall screw in the middle of the strip and fit it inside the hole.
Hold the backing support locked into place, while driving in screws trough the drywall at the ends of the strip. Use an electric screwdriver with torque control to get the job done quickly.
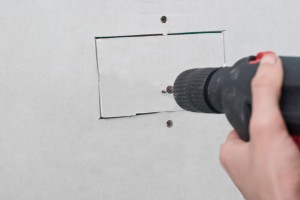
Cut out a small patch from a piece of drywall having the same thickness as the wall. This is an essential aspect when fixing holes in drywall, often overlooked by amateur handymen. Make sure the patch will fit properly in the hole, but in the same time the gaps should not be larger than 1/12”.
Place the patch in the hole and secure it to the backing support with a couple of drywall screws. Countersink the screws just below the surface of the drywall.
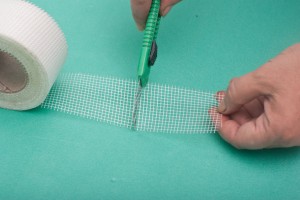
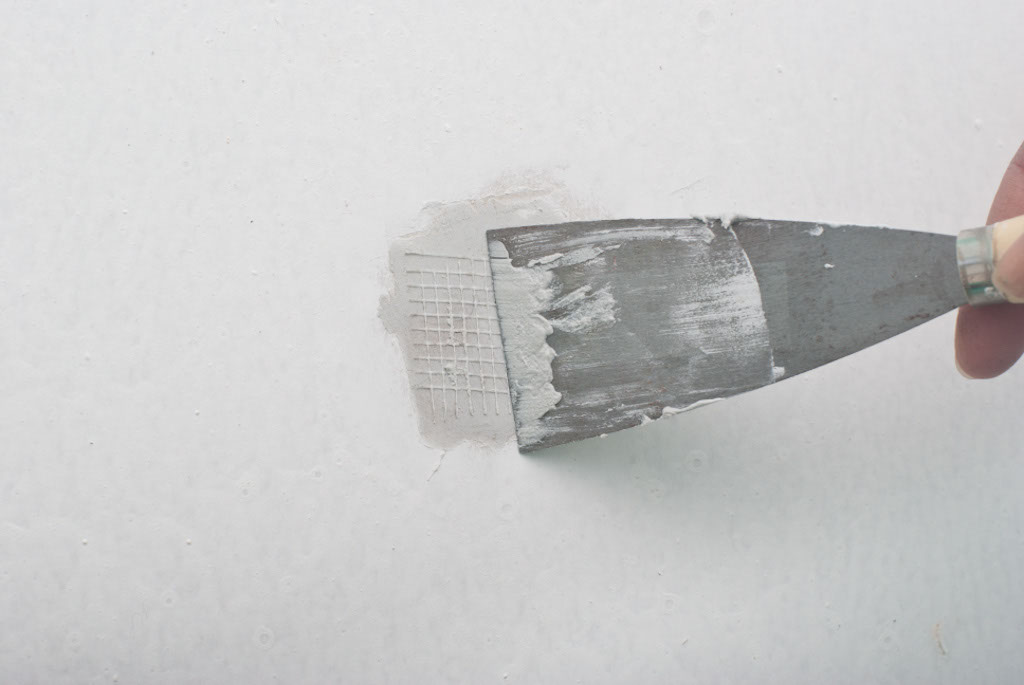
Cut several pieces of fiberglass mesh to reinforce the edges of the patch. You could use as well drywall paper, but we have always obtained better results with the nest. Measure the size patch, before cutting the fiberglass. Unroll the mesh and cut the piece 1” larger than the hole on all sides, with an utility knife.
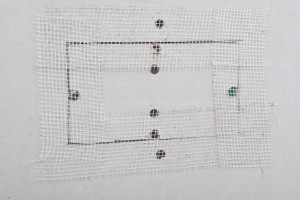
The fiberglass mesh has adhesive on one side, therefore it will stick to the wall easily. Before fitting the net to the wall, you have to make sure the the pieces are large enough to cover the edges of the patch. As you can see in the image, you should use four pieces of paper.
Useful Tip: Although in this preliminary stage the damaged area doesn’t look too neat, we assure you that after you get the job done, you won’t even notice the patch.
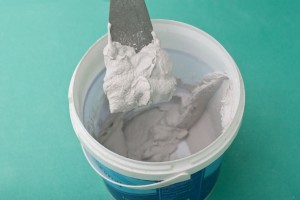
Next, pour small quantity of water in a bucket, before adding the drywall compound powder. Let the water to activate the additives in the powder, before mixing it. In order to prepare a compound without lumps, hold the bucket with one hand, while mixing the mud with a putty knife.
Useful Tips: In order to check if the mud has the right consistency, you should make sure it doesn’t falls off the knife. If the drywall compound doesn’t slip off the knife and it isn’t lumpy, you can spread it on the wall.
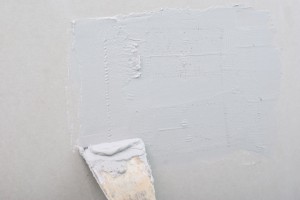
In order to get the job done as a professional, you should apply several coats of compound. Therefore, even if the first coat doesn’t look even, you shouldn’t worry too much, as you will make it look properly after applying the second coat.
If the patch is larger than 2”, we strongly recommend you to use a 6” wide putty knife. Embed the fiberglass mesh in the compound and make sure you remove the air pockets. Let the mud to dry out properly, before going to the next step.
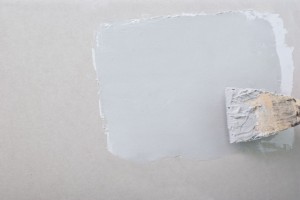
Afterwards, you have to let the compound set up a little, for about 10 minutes. Meanwhile, you have to mix the compound in the bucket and add water, as it will harden quickly.
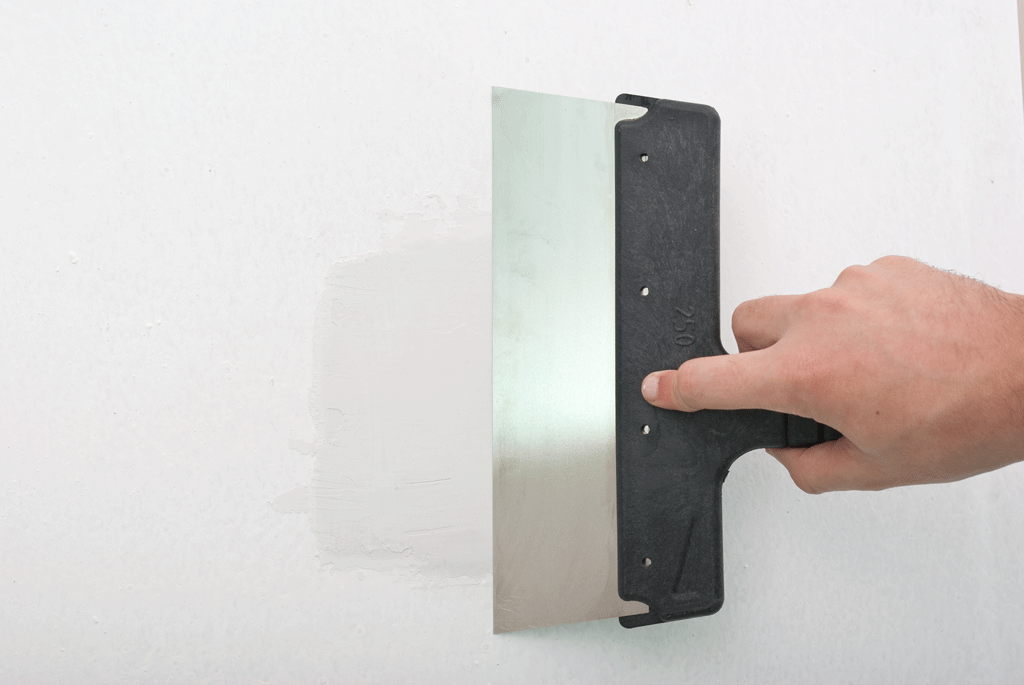
Apply the second coat of mud over the patch, paying attention to the transition between the wall and the patch. In addition, make sure the repaired surface is as smooth as possible. If you aren’t satisfied with the result, then you have to apply a third coat. Let the mud to harden overnight.
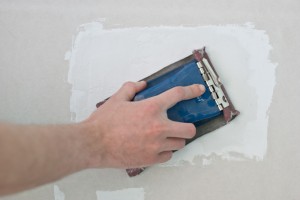
If the surface is really smooth and the transition between the fixed area and the rest of the wall is unnoticeable, you will save time on sanding. Therefore, use 100-grit sandpaper and a block to make the surface as uniform and smooth as possible. Don’t forget to wear a respiratory mask during the sanding stage, as there will be a lot of dust and debris.
Useful Tip: Apply the primer over the surface and spread several coats of paint.
Thank you for reading our project about how to fix holes in drywall. Check out the rest of the project if you want to learn drywall repair tricks and techniques. LIKE us on FACEBOOK for more updates.

