
This step by step diy article is about how to hide pipes with a drywall box. The story behind this project is simple: we needed the pipes that run from the first floor to the attic for the solar water heating system and we had to come up with a clever solution to hide them. Therefore, we decided to make a simple drywall box along the corner of the room and hide the unaesthetic pipes. You can also install a small access door in case you need to work with the pipes, but since this is a bedroom / office room, we decided to keep it smooth.
This is a house with a masonry walls, so the easiest way to frame the box was to use metal studs. However, you can use lumber as well and follow the same steps. Make sure you use a spirit level to plumb the vertical sheets when framing the hide box. Moreover, use an L-square to make sure the corners are perfectly right angle. Usually the lack of attention to details makes a simple drywall project like this a failure.
Materials
![]() Drywall sheet
Drywall sheet
![]() Joint compound
Joint compound
![]() Metal studs
Metal studs
![]() Fireberglass mesh
Fireberglass mesh
Tools
![]() Safety gloves, Eye protection, Respiratory mask
Safety gloves, Eye protection, Respiratory mask
![]() Electrical screwdriver, Drywall saw
Electrical screwdriver, Drywall saw
![]() Utility knife, T-square, Knifes
Utility knife, T-square, Knifes
Tips
![]() For 1/2” drywall use 1-1/4″ drywall screws; for 5/8” drywall use 6 x 1-5/8″ screws
For 1/2” drywall use 1-1/4″ drywall screws; for 5/8” drywall use 6 x 1-5/8″ screws
![]() Wear a respiratory mask when sanding the drywall sheets
Wear a respiratory mask when sanding the drywall sheets
Time
![]() 2 days
2 days

How to Hide Pipes with a Drywall Box
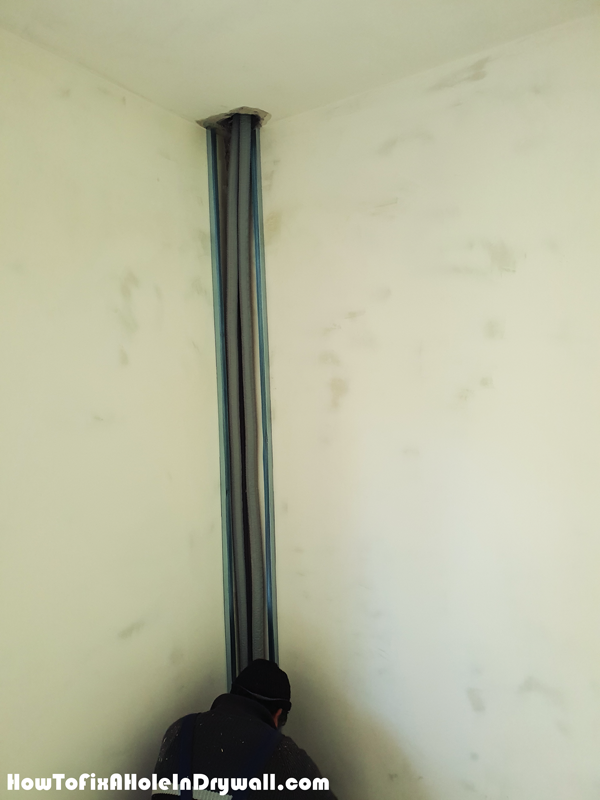
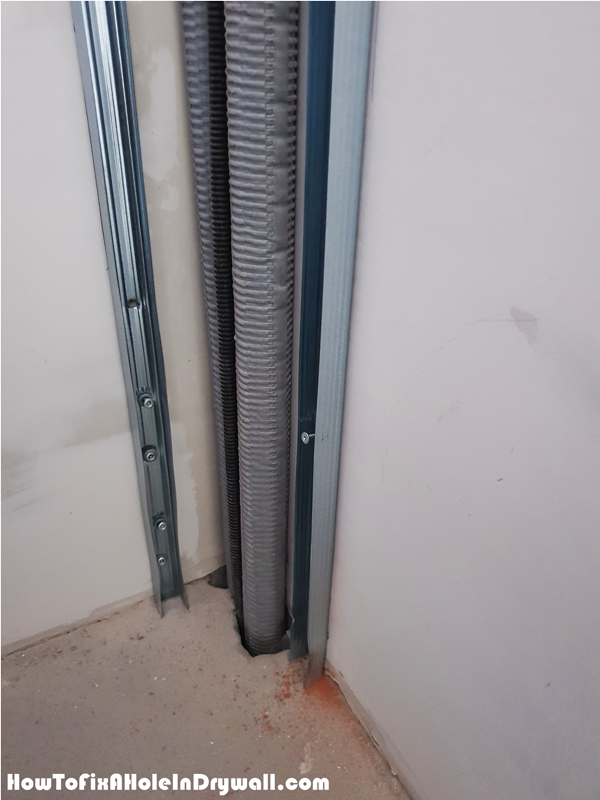
The first step of the project it o build the metal studs along the adjacent walls of the room. Make sure you place the studs as close as possible to the pipes, so you keep the cover box as small as possible. Use a spirit level to plumb the studs and then lock them to the walls with screws.
As you can see in the image, the metal studs need to go all the way down to the floor and wall the way up to the ceiling.
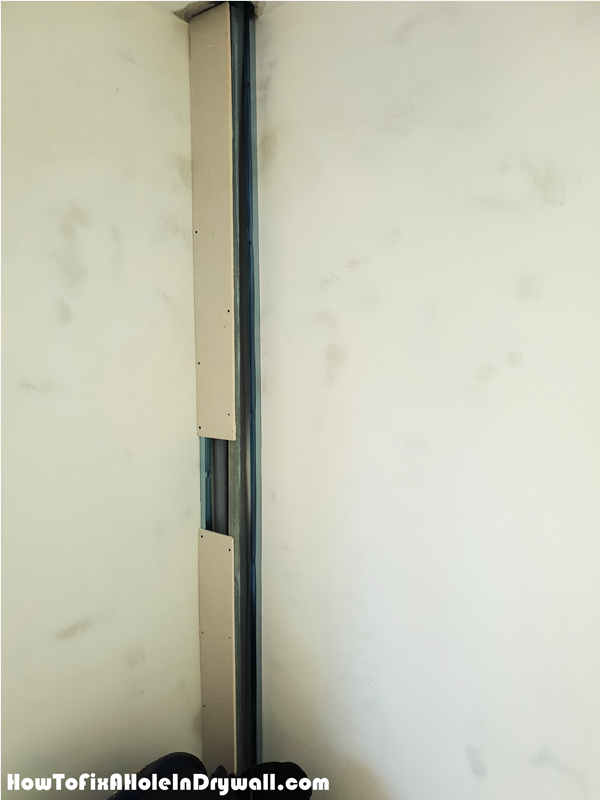
Next, cut the drywall to the needed dimensions and screw it to the metal studs, Notice you need to add another stud to the outside corner of the box, so you can have a support for the drywall sheet. Use a spirit level to make sure the box is plumb on all sides.
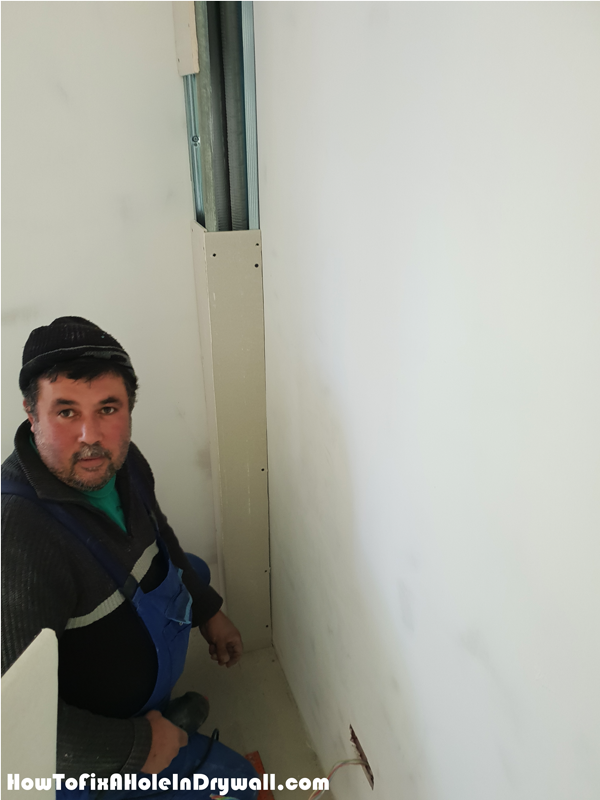
Attach the drywall sheet to the other side of the cover box. Make sure the corners are right-angled.
Step 2: Mud the Drywall Hide Box
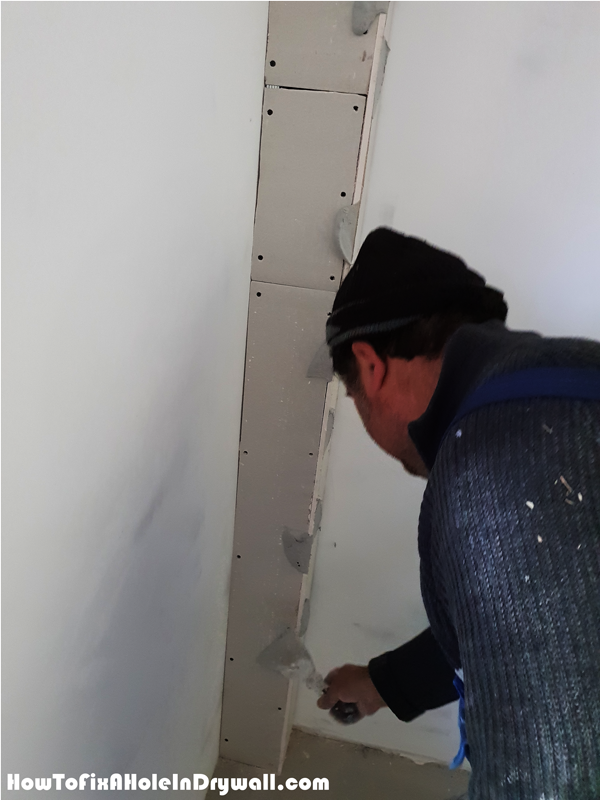
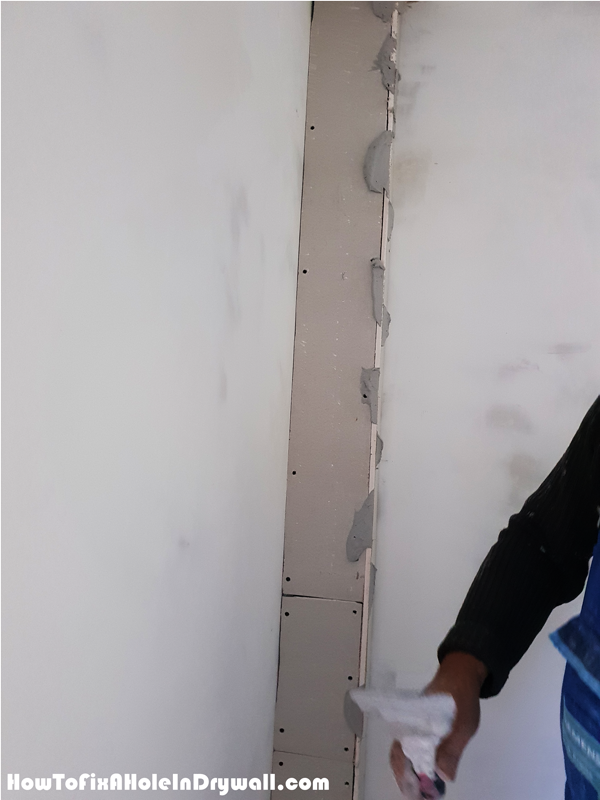
Once you have assembled the pipe cover box, you need to take care of the finishing touches. Therefore, we need to tackle first the outside and inside corners. Mix some mud and then apply it to the outside corner with a trowel.
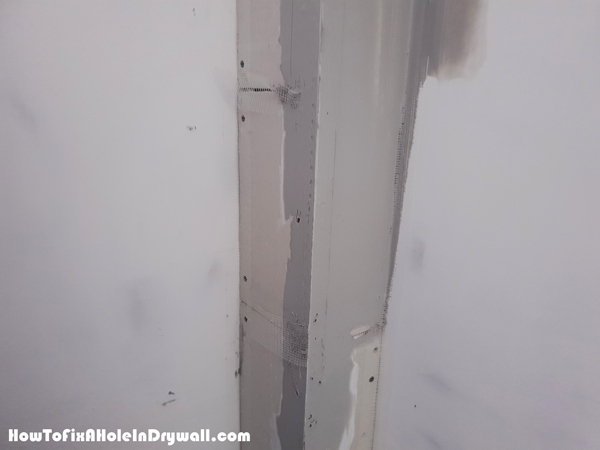
Cut fiberglass mesh and then apply it over the inside and outside corners and press it into the mud. Also add the mesh over the joints. The mesh will reinforce the joints and corners and prevent the future cracks.
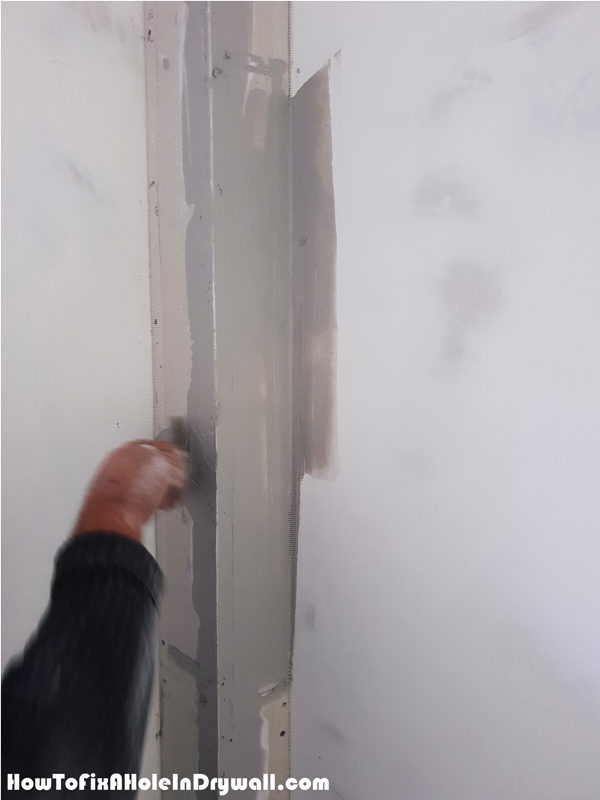
Use the trowel to cover the mesh with compound. Make sure you spread the mud as evenly as possible. Let the mud dry out for one day, before you can spread the second coat.
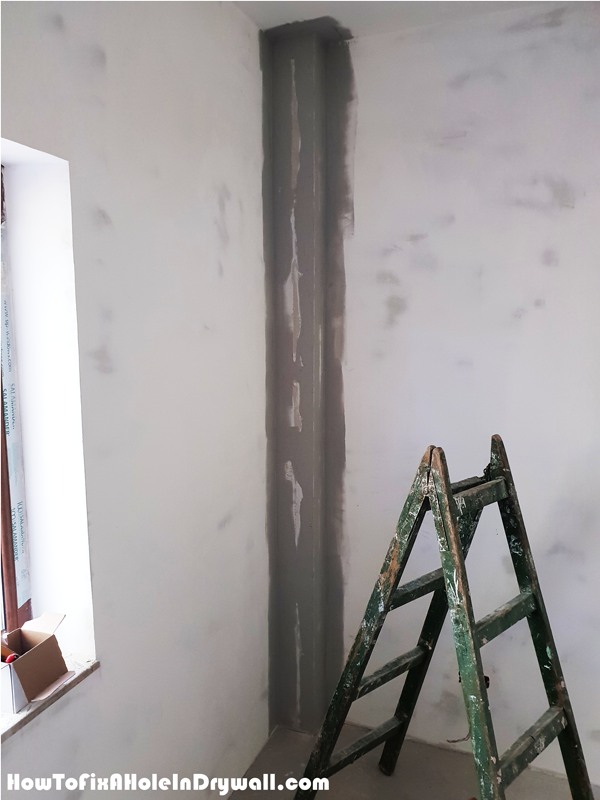
Apply mud over the whole drywall surface and make sure it is smooth. Let it dry out for one day and then sand the surface thoroughly with coarse and fine grit sandpaper.
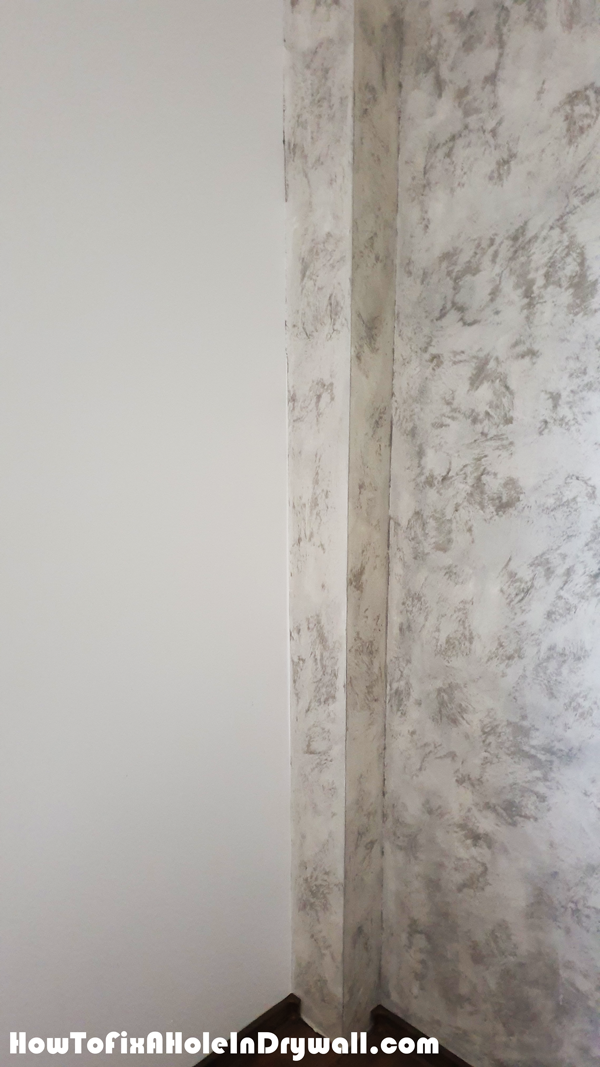
Last but not least, paint the hide box to suit your tastes. As you can see, this is a quick drywall project that you can tackle in a few hours added over a couple of days. This is a simple and efficient method to cover pipes and other items that can ruin the look of your room.
Thank you for reading our project about how to hide pipes with a drywall box. Check out the rest of the projects if you want to learn drywall repair tricks and techniques. LIKE us on FACEBOOK for more updates.