
If you want to hang drywall to the ceiling or make a partition in your room, then you should really consider using metal studs. Framing with metal studs has its pros and cons, so make sure you study the options before starting the project. The main advantage when using metal studs is the consistency you get in the shape, straightness and structural integrity. This is a brief tutorial on how to frame a metal stud ceiling.
The metal studs are super rigid and they are will resist for so many years in the row. In addition, the metal studs are light so you don’t add too much weight to the structure. You should remember that you have to install the tracks first and then fit the metal studs. In addition, pay attention to the instructions you get when buying the metal studs, as there are several types out there.
Materials
![]() Drywall sheet, Metal studs, Brackets
Drywall sheet, Metal studs, Brackets
![]() Joint compound
Joint compound
Tools
![]() Safety gloves, Eye protection, Respiratory mask
Safety gloves, Eye protection, Respiratory mask
![]() Electrical screwdriver, Drywall saw
Electrical screwdriver, Drywall saw
![]() Utility knife, T-square, Knifes
Utility knife, T-square, Knifes
Tips
![]() Place the studs every 16″ on center
Place the studs every 16″ on center
![]() Take accurate measurements before cutting the metal studs
Take accurate measurements before cutting the metal studs
Time
![]() 2 days
2 days
Framing with metal studs
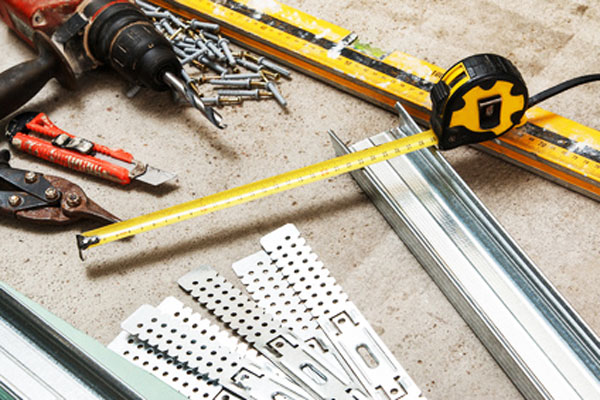
When framing with metal studs, you need to gather first the tools for the project. You need tin snips to cut the metal studs, a ruler, a drill machinery, a spirit level and a cutter. In addition, you have to buy the materials: metal tracks, studs, brackets and screws.
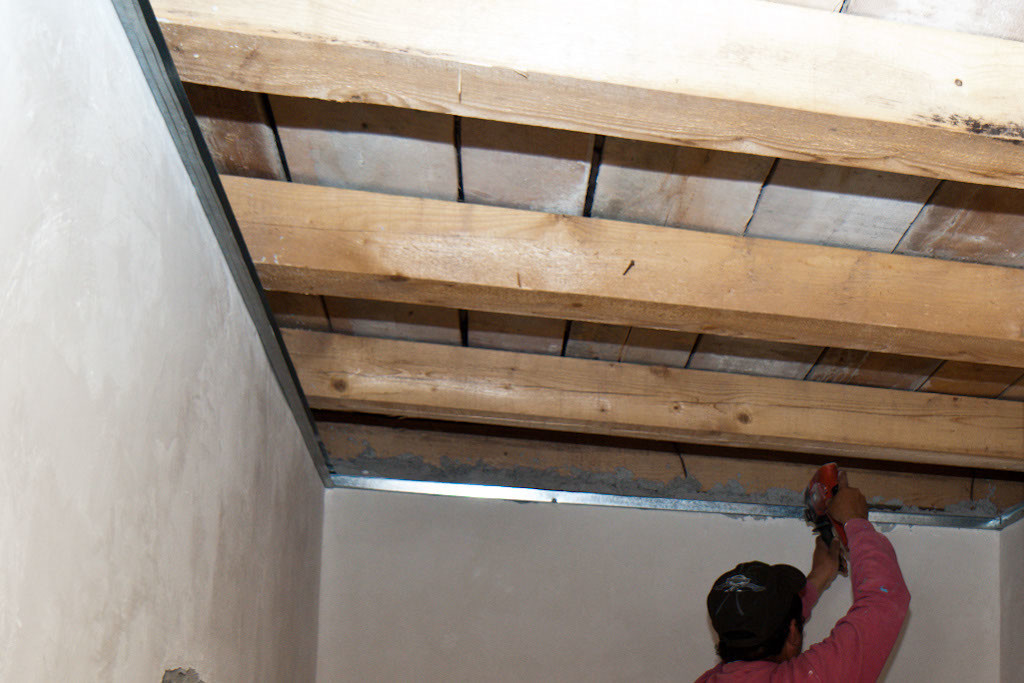
Install the tracks to the walls, as shown in the image. Use a 4-6′ spirit level or a laser level to make sure the tracks are horizontal. You can adjust the height of the ceiling to suit your needs. Drill holes through the tracks and lock the to the walls with screws. Take measurements for the tracks before making the cuts. The tracks are basically channels needed to hold the studs.
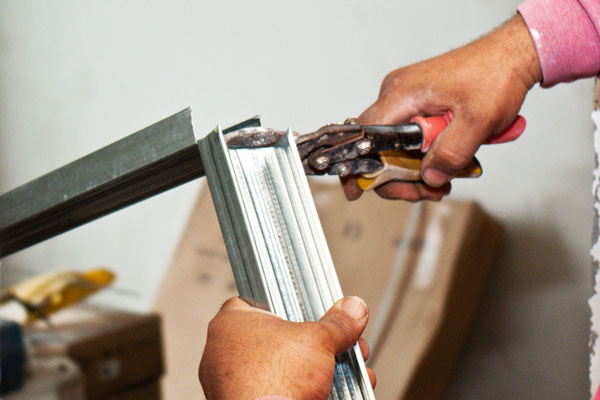
You should use tin snips to adjust the size of the tracks and of the metal studs. Make sure you measure accurately and pay attention to the sharp edges, to prevent injuries.
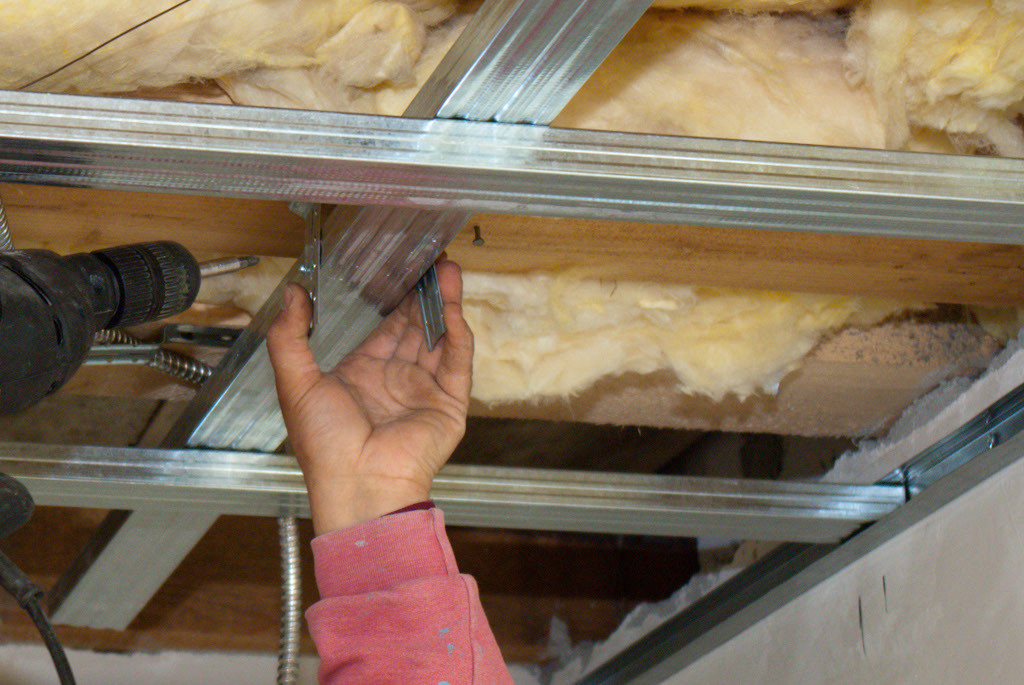
Next, you should fit the metal studs to the tracks and space them appropriately (usually 16″ on center). Use screws to lock the studs to the metal track. As you can notice in the image, there is a gap between the track and the framing beams, as we will install another perpendicular layer of studs there. In this manner, the metal stud ceiling will be super rigid.
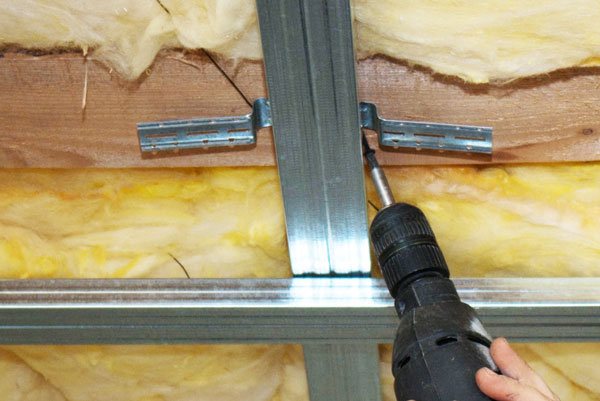
In order to enhance the rigidity of the metal stud framing, you need to attach brackets. Use screws to lock the brackets to the ceiling joists, as shown in the image.
Lock the metal studs to the beams using brackets. It is essential to metal secure the studs to the beams, using this technique. Insert screws through the brackets into the metal studs.
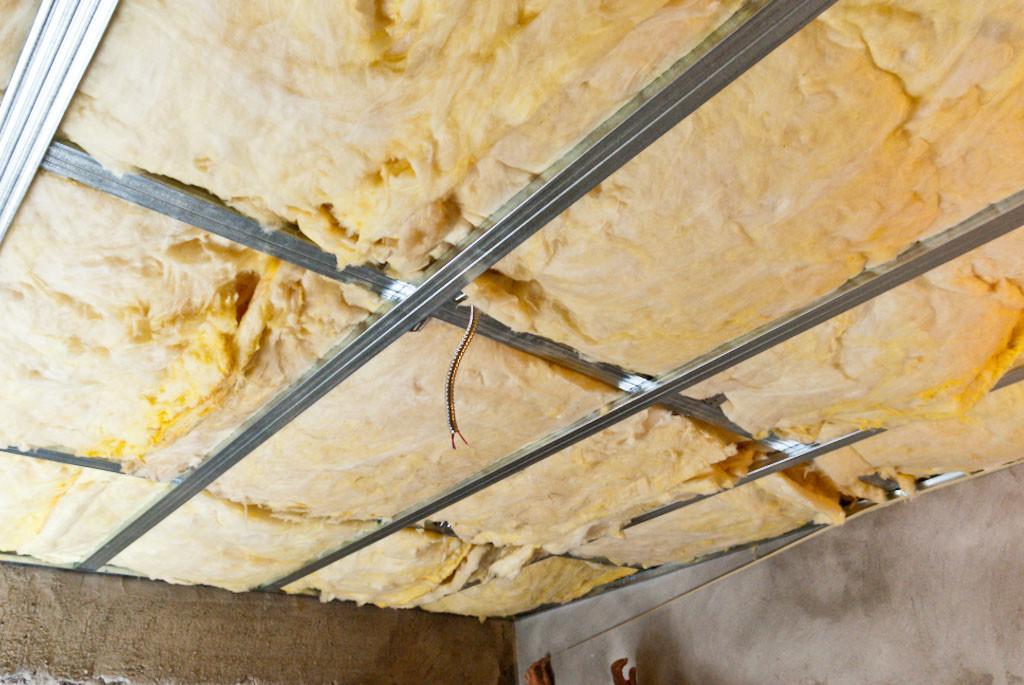
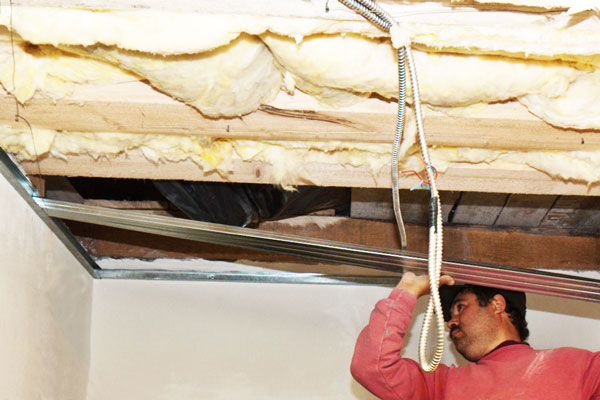
After installing the metal stud ceiling, you should fit the insulation. In this manner, you will keep the heat inside the room during the cold winters and make air conditioning more efficient in the summer. More on how to frame with metal studs HERE.
Thank you for reading our project about how to frame a metal stud ceiling. Check out the rest of the projects if you want to learn drywall repair tricks and techniques. LIKE us on FACEBOOK for more updates.