
This step by step diy article is about how to drywall a ceiling. If you want to save money or you simply enjoy doing DIY projects on your own, this article will show you a few tips on hanging drywall to the ceiling. If you want to get a professional result, you need to follow the simple steps. Our instructions work if the ceiling frame is made from wood or from metal studs.
We recommend you to use 5/8″ thick drywall for the ceiling. After buying the sheets, make sure you lay them flat in the floor, so that they don’t bend because of the humidity. We also recommend you to ask a friend to assist you when hanging the drywall, as the sheets are too heavy for a single person to lift them. Inspect the ceiling frame thoroughly before attaching the sheets, looking for leaks or uneven surfaces.
Materials
![]() Drywall sheet
Drywall sheet
![]() Joint compound
Joint compound
Tools
![]() Safety gloves, Eye protection, Respiratory mask
Safety gloves, Eye protection, Respiratory mask
![]() Electrical screwdriver, Drywall saw
Electrical screwdriver, Drywall saw
![]() Utility knife, T-square, Knifes
Utility knife, T-square, Knifes
Tips
![]() For 1/2” drywall use 1-1/4″ drywall screws; for 5/8” drywall use 6 x 1-5/8″ screws
For 1/2” drywall use 1-1/4″ drywall screws; for 5/8” drywall use 6 x 1-5/8″ screws
![]() Wear a respiratory mask when sanding the drywall sheets
Wear a respiratory mask when sanding the drywall sheets
Time
![]() 2 days
2 days
Step 1: Prepare the surface
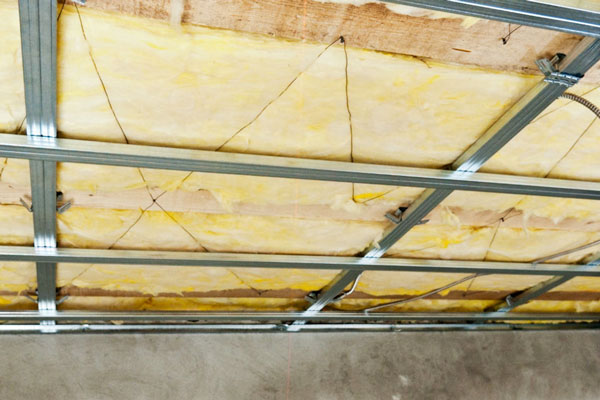
The first step of the project is to frame the ceiling. In our case, we used metal studs to make the frame for the ceiling. As you can see in the image, we also added fiberglass insulation to the ceiling. We used a laser level to make sure the tracks and the ceiling are perfectly horizontal. The metal brackets hold the studs secured to the wooden beams. See the next step to learn how to hang drywall ceiling.
Step 2: Lift the drywall sheets
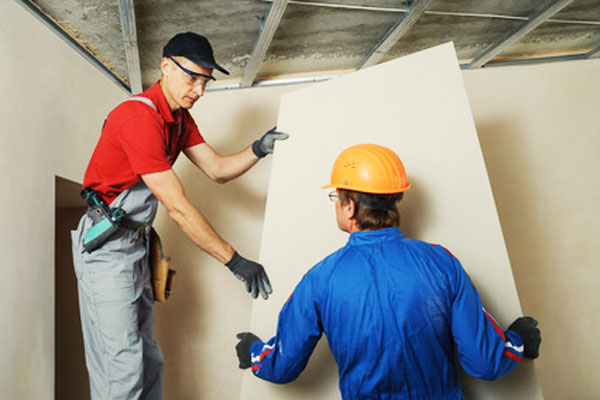
You need an extra pair of hands when installing the sheets of drywall into place. Start with a corner of the room, so that you can use a full sheet of drywall. Raise the sheet with the help of your friend and fit it to the corner. Make sure the tampered edges of the sheet are downward-oriented.
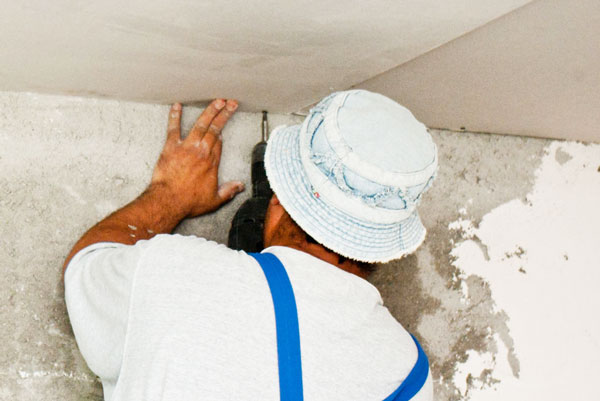
Step 3: Secure the sheets to the ceiling

Use screws or nails to secure the sheets permanently into place. We used screws, as the ceiling structure was made of metal studs. Make sure you leave at least 3/8″ from the edges and insert the screws every 7″ along the perimeter. Along the interior stud, insert screws about every 12″. Sink the head of the screws into the paper layer, but make sure you don’t damage it.
Make sure you secure the sheets along the track tightly. Leave no gaps between the wall and the ceiling for a professional result. Read the rest of the steps to learn how to drywall a ceiling as a professional.
Step 4: Adjust the sheets to size
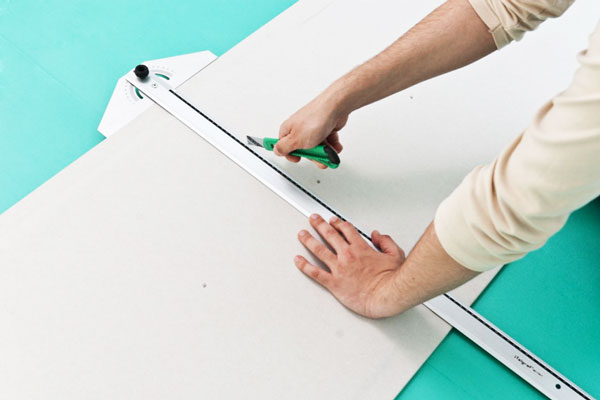
After completing the first row, you need to start the second one with a half sheet. This will add strength to the ceiling and prevent cracks. Use a tape measure to determine the middle of the sheet. Use a T-square to score a straight cut with the utility knife. Snap the sheet and then clean the remaining paper layer with the cutter. Use a drywall saw to make punches for wires or pipes.
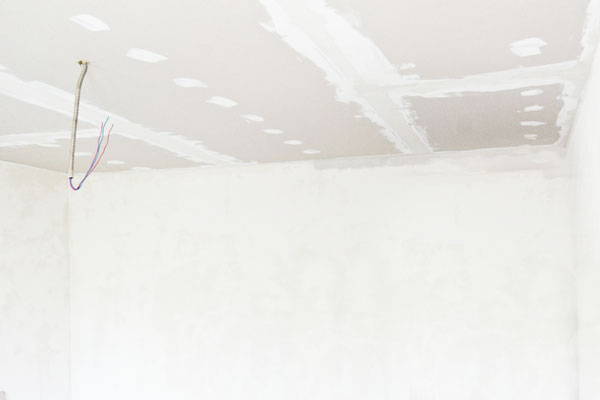
Install the rest of the sheets to the metal stud ceiling, using the same techniques described above. After you cover the whole surface with drywall sheets, you should mud the seams.
Step 5: Tape the seams
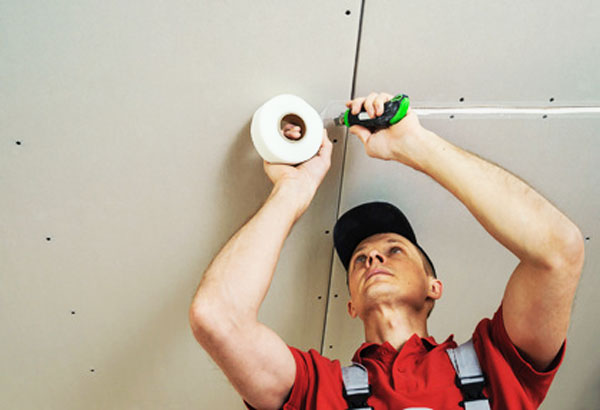
Apply fiberglass mesh to the seams. Press the sticky side to the seams, making sure you center it into place. Use an utility knife to cut the mesh. If you want to use tape, then you should first apply a coat of mud over the seam.
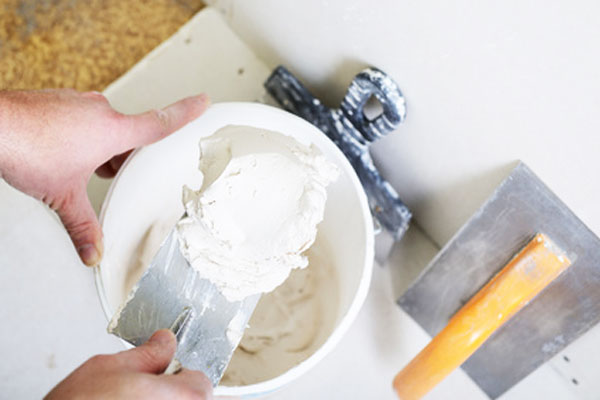
Mix the joint compound. Thin the mud with a little water and mix it thoroughly, until it gets the consistency of pudding. Using the mud directly from the bucket will make it hard to spread evenly, so take the time to thin it a little.
Use a 6″ knife to spread an even coat of mud over the seams. Make sure the coat is about 4-6″ wide. Then, apply the tape to the joints, keeping it centered. Press the tape over the compound, every feet or so. Use the trowel to keep the tape into place, while you use the knife to go along the tape and wipe off the excess. Start from the middle and wipe it off toward the end.
Repeat the process on the remaining side of the seam. The excess mud should ooze out on both sides of the tape. If this doesn’t happen, then the mud layer applied to the seams is too thin, and you need to apply it again. After this coat it dies out, you should spread two more layers to cover everything smoothly. Make sure the new layers go 2″ beyond the edges, so the transition will be smooth.
Thank you for reading our project about how to install drywall ceiling. Check out the rest of the projects if you want to learn drywall repair tricks and techniques. LIKE us on FACEBOOK for more updates.